How do I fasten my T1-11? Secure the T1-11 to one of the wall studs next to the center stud with 8d nails placed every 8 inches, using the chalk line as a nail placement guide. Drive the first nail into the center of the siding and work toward the top and bottom edges.
How do you put up a sheet of T1-11?
An experienced carpenter can put up a sheet of T1-11 almost faster than the eye can follow. The traditional way to attach the sheets is with nails and a framing hammer. One or two blows to the nail head by a carpenter who has done this task repeatedly, and the the nail is solidly into the stud below.
How do you install T1-11 siding?
As part of the T1-11 installation, wherever a wall height requires more than a full sheet of siding, a Z-shaped metal flashing is added at all horizontal seams to ensure a proper seal against rain or moisture. Step 1 Complete the installation of the first horizontal row of T1-11 siding following standard construction practices.
What Screws do you use for T1 11 siding?
T1-11 siding can be installed using 1 5/8-inch exterior screws or 12d galvanized nails, and it’s best to start from the bottom up to achieve a clean, seamless application. However, T1-11 should never actually be installed flush with the ground, as this contact can increase moisture buildup and promote mold growth.
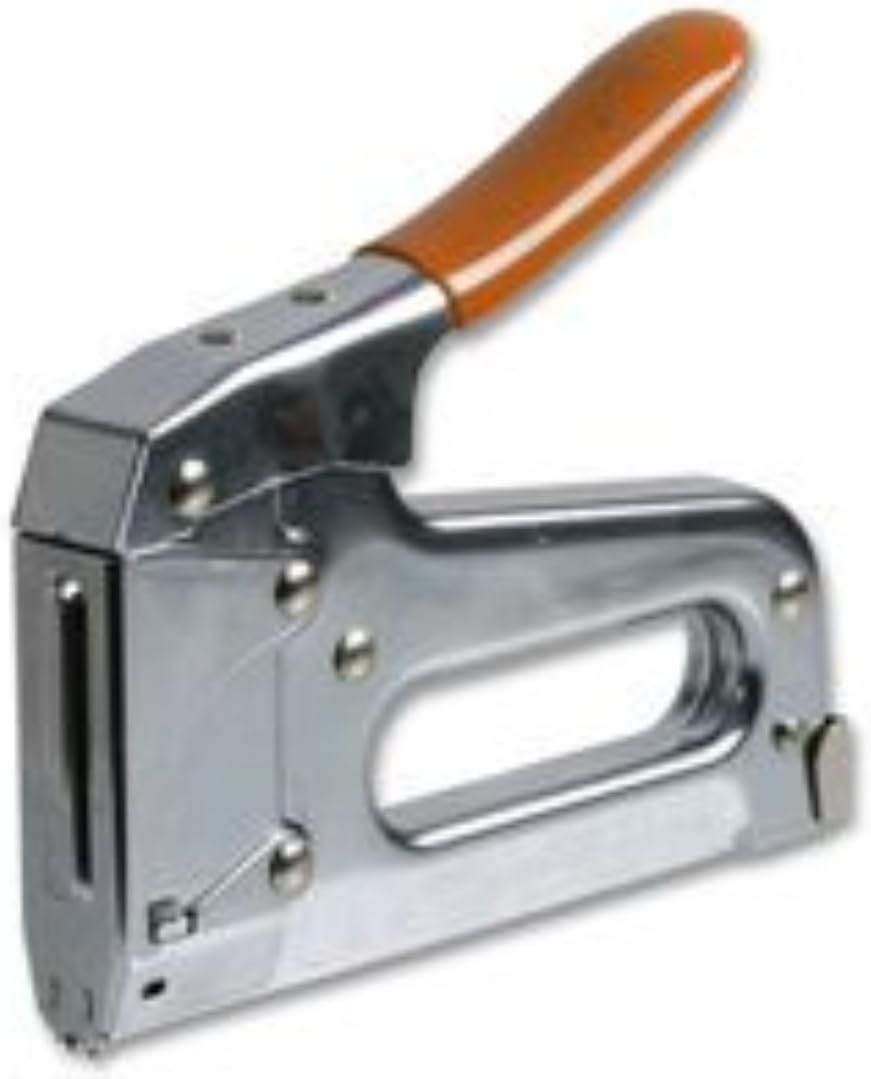
How to install T1-11 screws on a deck?
A professional-grade screw gun for decks work well in applying the T1-11 to the studs. Whether nails or screws, it is important to use galvanized or stainless steel fasteners and then caulk them afterward. Otherwise, the open metal is going to attract rust.

How do you nail up a T1-11?
Secure the center of the T1-11 siding to its wall stud. Place an 8d nail every 8 inches down the wall stud behind the center of the siding, using the chalk line as a placement guide. Pound the nails into the siding until its head countersinks into the siding's surface.
How do I install T1-11 siding myself?
0:062:33Installing Plywood Siding; Tips and Tricks Using T1-11 - YouTubeYouTubeStart of suggested clipEnd of suggested clipFirst thing we do is we rip out our old piece. That's what we've done here. Then we want to do is weMoreFirst thing we do is we rip out our old piece. That's what we've done here. Then we want to do is we want to take a measurement of the width. It's happens to be a full eight-foot sheet.
What kind of nails do you use for T1-11 siding?
Nail size depends on the thickness of the T1-11. In general, 6d nails are suitable for siding below 1/2-inch thick and 8d nails for thicker material.
Do you need plywood under T1-11 siding?
As originally designed, T1-11 siding was made from Softwood plywood. The addition of OSB was made as a cost-cutting measure. But the best T1-11 siding is still made of softwood plywood. OSB is much more susceptible water soaking in and swelling the sheet, especially at the edges.
Should you nail or screw T1-11 siding?
The decision to use nails or screws to fasten T1-11 siding often comes down to preference. Some do everything with nails and others only use screws. Nails are more difficult to remove than screws, but once installed, T1 should last for decades if properly maintained and shouldn't need to be replaced.
Do you need Tyvek under T1-11?
You should put sheeting and house wrap under the T1-11 siding, just like with any other siding. In some areas, you don't have to use sheeting and house wrap to do the installation, but I would not recommend doing it that way.
How do you hang t11 siding?
0:042:17How To Install T1-11 Siding - YouTubeYouTubeStart of suggested clipEnd of suggested clipUsing a pneumatic nailer set the pressure at 90. Psi. Place the siding in the saddle of the dodgeMoreUsing a pneumatic nailer set the pressure at 90. Psi. Place the siding in the saddle of the dodge hangar. Bottom. Let the Dodge hangers take the weight of the material off of you for our uniform.
What screws to use for siding?
Use aluminum, galvanized steel, or other corrosion-resistant nails, staples, or screws when installing vinyl siding. Aluminum trim pieces require aluminum or stainless steel fasteners. All fasteners must be able to penetrate a minimum of 1 1/4” (32mm) into nailable material, such as wood sheathing and framing (Fig.
How much does it cost to install T1-11 siding?
between $1,500 and $3,700The average cost to install T1-11 plywood siding ranges between $1,500 and $3,700, with an average of $2,500 for 500 square feet of exterior wall space.
Is T1-11 waterproof?
This type of plywood siding is injected with rosins and other chemicals, under pressure, to make it waterproof and protected against termites, rot, and fungal decay. It is the best version of T1-11 siding as it lasts considerably longer. Both Plywood and OSB T1-11 siding should be treated or primed.
Does T1-11 need to be primed?
Personalization. The other downside of OSB T1-11 is you can't stain this siding. It must be primed and painted, taking away one of the primary reasons homeowners choose to go with this particular siding material.
Can T1-11 get wet?
Water damage is the most frequent (and frustrating) problem with T1-11 siding. When the boards get wet, they swell, expand, and eventually flake, corrode, and rot. The edges of T1-11 panels are especially susceptible to water damage and absorb moisture at a rapid pace.
Do I need sheathing under siding?
Most new walls need sheathing to strengthen them, to act as a nailing base for siding, and/or to boost insulation. Existing walls usually do not require sheathing unless you are stripping off the old siding and applying a different type that calls for sheathing.
What kind of plywood goes under siding?
Plywood Sheathing. When considering plywood for sheathing, builders choose from 1/2-inch CDX – common construction-grade material – or 1/2-inch pressure-treated plywood. According to Fixr, both of these materials cost more than 7/16-inch OSB does, which also works as a suitable exterior sheathing material.
Is it better to paint or stain T 111 siding?
On rough sawn T1-11, stain will penetrate even better. l also recommend acrylic stain if you want to preserve the wood look of the siding. Paint is a lot thicker and hides more of the surface texture and grain than stain does.
What is T1-11 siding?
By Jack Burton. Hunker may earn compensation through affiliate links in this story. T1-11 siding is a specialized form of plywood that was extensively used in the 1970s through the 1980s. It has a vertical seam every 8 inches or so, providing a built-in visual pattern. It is still manufactured but is now made from engineered wood products instead ...
How wide is a T1-11?
Size. T1-11 is made in stained or painted sheets that are 4 feet wide and 8 feet high. Unless a home is two stories, the sheet is able to cover the side of the home without requiring a horizontal seam. It is often nailed directly to the studs with only a waterproof plastic sheath in between. The construction goes much faster ...
How to attach sheet of T1-11?
The traditional way to attach the sheets is with nails and a framing hammer. One or two blows to the nail head by a carpenter who has done this task repeatedly, and the the nail is solidly into the stud below.
When did Jack Burton start writing?
Jack Burton started writing professionally in 1980 with articles in "Word from Jerusalem," "ICEJ Daily News" and Tagalong Garden News. He has managed radio stations, TV studios and newspapers, and was the chief fundraiser for Taltree Arboretum. Burton holds a B.S. in broadcasting from John Brown University.
Can you replace siding if water damage extends to the interior?
The older style of siding was just bare plywood that was stained or painted. If the exterior is all that is damaged, it is easy to remove that panel and replace it. If the water damage extends to the interior of the home, it might be a larger problem. Replace the damaged area before it becomes a greater problem. Advertisement.
What is T1-11 Siding?
You can think of T1-11 as a sort of ‘blank slate’ for homebuilders, as its simple starting appearance can be transformed into a rich variety of finished project looks. In fact, chances are that you’ve already come into contact with T1-11 siding, perhaps without even realizing it. Commonly used for siding, T1-11 has also been a popular material choice for other DIY projects, including tool sheds, dog houses, duck blinds, and interior ceilings. This widely used building material came onto the scene in the 1960s, and it was quickly adopted as one of America’s favorite home building materials for many reasons.
How much does T1-11 siding cost?
Typically, T1-11 siding costs between $25 and $40 per 4 foot by 8 foot sheet. The variation in price is accounted for by the fact that there are many different finishing options available, including some T1-11 materials that are pretreated or already stained. However, this does not account for the installation or labor costs of installing T1-11 siding, nor does it account for upkeep and maintenance. If starting with untreated T1-11 siding sheets, staining can cost upwards of $600, depending on the surface area of the structure.
What is a T1-11?
For most homeowners and homebuilders – even first-time homeowners looking for an entry-level DIY project – T1-11 is a simple, unintimidating material that makes construction projects fast, easy, and affordable.
What are the disadvantages of T1-11 siding?
Yet by far, the most notable disadvantage of T1-11 siding is that it’s susceptible to water damage and long-term exposure to the elements. Because of its plywood composition, untreated T1-11 siding can really take a hit from moisture.
How much does it cost to stain a T1-11?
If starting with untreated T1-11 siding sheets, staining can cost upwards of $600, depending on the surface area of the structure.
How much does a T1-11 panel measure?
Typical T1-11 siding has an edge measuring 3/8 inches where the next panel will overlap to create seamless continuity.
How to attach trim to corners of a structure?
Obstacles like windows and doorways can be maneuvered by adequately measuring and cutting T1-11 before applying it to the structure and using 8d galvanized finish nails to attach the trim to the corners.
What is plywood 11?
Plywood t1 11 siding is sold with two minor variations whereas the OSB sidings are a standard offering. Plywood t1 11 siding is sold in the hewn and sanded varieties, both of which are surprisingly similar to hardwood sidings.
Why is OSB siding more permeable to moisture?
This is because OSB sidings incorporates a greater concentration of natural wooden bits like wooden flakes, cellulose fiber strands and natural resins that make the si ding more permeable to moisture.
Why is T1 11 siding so hard to replace?
This is because the t1 11 sidings were previously installed with bigger, waterproof studs. These studs were hammered much deeper than the present-day installation studs. As a result, at the time of replacing the siding, the roofing insulation or the roofing deck are likely to be damaged.
What is T1 11 siding?
T1 11 siding is essentially a plywood panel-based siding that is laminated for extra durability. Its external appearance is cleverly manipulated to resemble that of natural wood. This is done by establishing long, vertical strands that resemble natural wood grain found in hardwoods.
Is plywood siding better than OSB?
The plywood variety is a bit more expensive than the OSB siding but it is reputed to have a better finished appearance and resembles natural wood to a greater extent. Plywood t1 11 siding is also referred to as Plywood T1 11 siding and is said to be a very durable option once it is stained or primed in the appropriate manner.
Is T1 11 siding good?
T111 or t1 11 siding is among the most durable and long-lasting of contemporary siding options. Conventional wood sidings tend to present a host of problems ranging from moisture seepage to repeated maintenance demands like painting and staining. However, a wood-based siding like t1 11 siding is free from such issues. Further, it is much cheaper than a cedar wood siding but still exudes the same aura of a rustic, stylish siding.
What is the purpose of articles being reviewed?
To ensure our content is always up-to-date with current information, best practices, and professional advice, articles are routinely reviewed by industry experts with years of hands-on experience.
Step 1
Complete the installation of the first horizontal row of T1-11 siding following standard construction practices. Typical installation aligns the bottom edge of the first row of siding 2 to 4 inches below the wall's bottom sill plate and over a continuous layer of waterproof kraft paper or polyethylene plastic sheeting.
Step 2
Install the first length of Z-flashing. Begin at either end of the wall and set the level middle section of the Z-flashing onto the top edge of the siding panel, with the wider flange upward and against the wall framing.
Step 3
Continue installing the Z-flashing at the top edge of the siding panels across the full length of wall. Position the flashing lengths as defined in Step 2, overlapping the ends a minimum of 2 inches onto the previous flashing piece and securing the flashing with 8d nails at each wall stud.