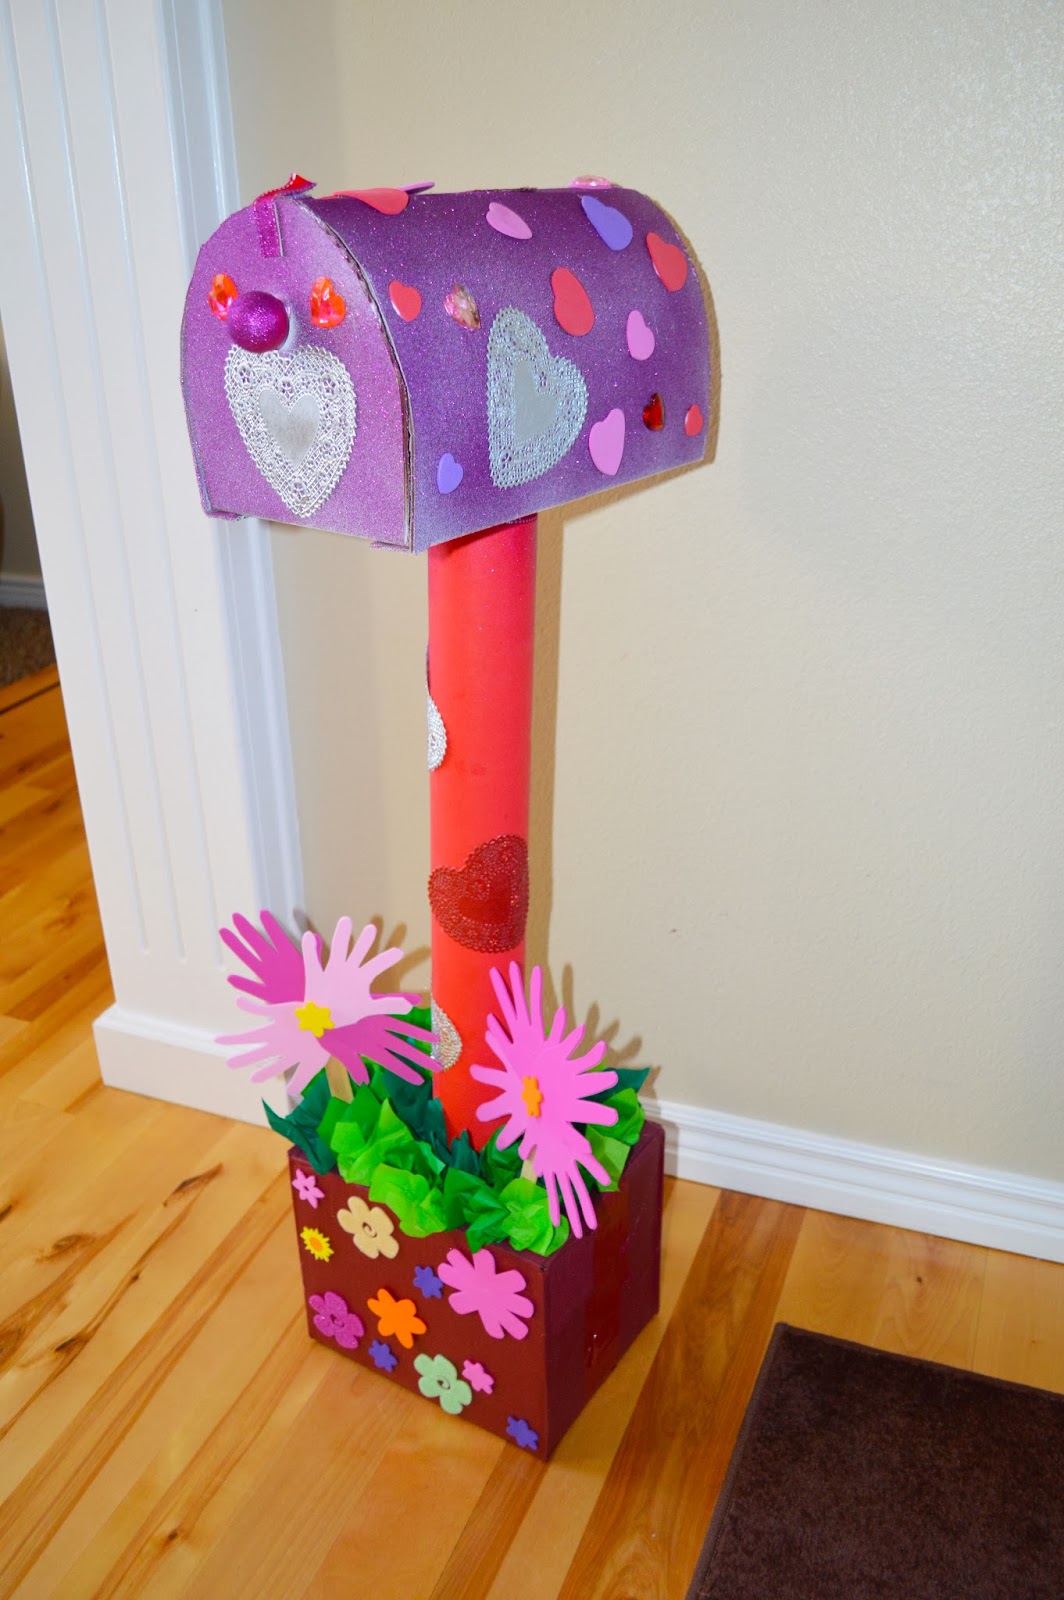
How to Make a Mailbox Out of Cardboard
- Step 1 Select the box. ...
- Step 2 Trace an arc on the top flaps of the box. ...
- Step 3 Fold the remaining flaps to form a curve. ...
- Step 4 Cut a door in the curve of the mailbox for a residential type mailbox, leaving the bottom of the door attached to the box as a hinge. ...
- Step 5 ...

How to make a mailbox out of cardboard?
Tips and tricks for making your own DIY cardboard mailbox:
- Be patient when you’re curving the curved top of the mailbox. ...
- Your play mailbox will probably require at least three coats of blue paint to cover everything. ...
- If you have mail you will be using, be sure to measure it before you cut the mail slot so it will fit!
How to make your own mailbox?
You've Got Mail: 11 Inventive DIY Mailboxes
- Autobot Box. This robotic creature was assembled from salvaged automotive parts. ...
- Uncorked Potential. This classic wine barrel brings some instant curbside class. ...
- Computer-Aided Communication. ...
- Pump It Up. ...
- On Tap. ...
- Fill 'er Up. ...
- For More... ...
How to build a wooden mailbox?
Table of contents
- Remove the old mailbox. We replaced an old plastic mailbox that wasn’t in great shape. ...
- Check the layout. Before building a new wood mailbox, head to the USPS website to find out the regulations for laying out a mailbox.
- Dig the footing. ...
- Build the wood post. ...
- Secure the post in the hole. ...
- Trim and finish. ...
How to DIY cardboard storage box with dividers?
Instructions
- Gather all the necessary materials.
- Take out one drawer and empty its contents.
- Measure the inside of the drawer and draw these measurements on plain card stock.
- Cut the card stock according to your measurement.
- Collect all the drawer's contents again and arrange them on your cut card stock according to how you would like them divided.
How to decorate a mailbox?
Paint the mailbox or color it with markers or crayons. Allow the paint to dry completely. Decorate the mailbox with additional colors, stickers or other craft supplies, if desired. Stencils can be used for adding names or other lettering to the mailbox.
How to make a mailbox look official?
For an official-looking public mailbox, download logos from the Internet and print out on plain white paper or cardstock. Carefully cut the logos or image out and glue to the mailbox after the paint dries.
User Mailbox
They are the usual standard kind of m a il boxes that are allotted to individuals where they may receive there mails. They have a number or an address assigned to them and you can exchange these numbers to receive and send your letters and even small parcels.
Service Account Mailbox
They are a bit more private and secure as compared to the standard mail boxes and have a username and a password assigned to them which are needed every time you need to access the mail box.
Shared Mailbox
This is the third kind of the mail box, and does not have much security or privacy and can in fact be operated by multiple users.
Resource Mailbox
This is a bit different from the usual kind of mailboxes that we are talking about at the moment and is usually reserved for reservation and coordination of resources such as meeting rooms and conference lines for corporate purposes.
How to make a mailbox with a curved top?
Hold your curved top piece in place and measure how long it will need to be (this is basically the length of the top curved edge of the mailbox (otherwise know as the circumference of that semicircle). Cut the scored rectangle to length. Then draw and cut a slot for the mail to go in in the middle of the top.
What to do when your mailbox is finished?
When your mailbox is finished, let your kids write, stamp and address their own letters, they’ll have a blast!
How to score a cardboard box?
Using a ruler and an exacto knife, score parallel lines on the back side across that width about an inch apart or so. You just need to lightly cut the very first layer of the cardboard.
Do you measure mail before cutting the mail slot?
If you have mail you will be using, be sure to measure it before you cut the mail slot so it will fit!