.JPG)
How to Mod Podge Cardstock Prints to Canvas.
- Print out the picture or phrase you would like on cardstock and trim the cardstock paper smaller than your canvas. I used a 5 by 7 canvas.
- Add masking tape to create a frame (it is your preference how thick you would like your border to be).
- Using the paint brush, paint with your choice of acrylic paint for the border if you would like - I used gold. Allow to dry for 10 minutes.
- When your paint seems to be dry, peel of the masking tape.
- Using the sponge brush - apply Mod Podge to the white center of the canvas where your printed cardstock will go. Center your cardstock image down and ...

How do you use modge Podge on wood?
Use regular Mod Podge on the surface of the wood. Use a small brush to apply Mod Podge evenly all over the surface. Place the photograph on the Mod Podge and use a brush to set it on wood. While the Mod Podge is still wet, you can still move the photograph in position.
How do you seal cardstock with modge Podge?
Using the sponge brush - apply Mod Podge to the white center of the canvas where your printed cardstock will go. Center your cardstock image down and press down. Using the sponge brush again, apply a nice thin layer of Mod Podge which will seal your photo.
Does cardstock wrinkle with modge Podge?
Then I would expect it to wrinkle a little bit unless the cardstock is attached to something else like wood. You can counteract that by Mod Podging the other side of the cardstock with Mod Podge, OR after you Mod Podge the paper to the cardstock, you place a piece of wax paper down and then a book on top to preven it from curling up.
Can I use mod Podge printer paper on cardstock?
Mod Podge is non flammable but also the MP is on the outside, so it won't melt. I want to mod podge printer paper onto cardstock. will that work? It will work, but a few things . . . if it's inkjet, it will bleed unless you spray seal both sides with clear acrylic sealer or hairspray and let dry. Let dry overnight.
Can you Mod Podge cardstock paper?
You can easily use Mod Podge with Cardstock paper. Using a sponge brush, apply a layer of Mod Podge evenly to the surface, then center your Cardstock and press gently to glue it down. Once it's glued down, you can use a thin layer of Mod Podge to seal the surface. Then allow it to dry for 20 minutes or more.
Can you Mod Podge thick paper?
Paper – Most items, especially thicker papers and scrapbook papers, are ready to use with Mod Podge as is. If you are working with thinner sheets of scrapbook paper or inkjet printouts, it may help to spray your paper with a clear acrylic sealer before Mod Podging. Spray both sides and allow to dry before using.
Can you decoupage card stock?
Best Cardstock For Decoupage You can decoupage in one of two ways: Method One: You can use a sheet of cardstock paper and glue your decorative items onto it. This method works well if you are looking to create original signage or decorations to hang on a wall.
How do you seal paper with Mod Podge?
2:546:30Basic Steps of Applying Paper to Wood Using Mod Podge - YouTubeYouTubeStart of suggested clipEnd of suggested clipJust keep going in one direction. And don't worry about it being cloudy. Make sure you hit all yourMoreJust keep going in one direction. And don't worry about it being cloudy. Make sure you hit all your edges. There this is going to dry completely clear. But with the gloss. Finish.
How long does Mod Podge take to dry on paper?
You'll need to test the plastic first with a small square of paper or fabric. Mod Podge the paper/fabric down and let it dry for 15 minutes. If it peels off really easily, it's not going to work.
Does Mod Podge seal paper?
Mod Podge can act as both a glue and a sealer. You can use it to glue paper or fabric, to a box, or frame.
How do you apply Modge podge smoothly?
When applying Mod Podge over a design, apply one layer of the Mod Podge with side-to-side brush strokes. Allow that coat to dry for 20 minutes or so before applying another even layer of Mod Podge in up-and-down strokes. I have found that this process results in the smoothest possible finished surface.
How do you decoupage on cards?
5:1812:43How to Decoupage Handmade Cards + FREE Decoupage Card Making ...YouTubeStart of suggested clipEnd of suggested clipAnd cut them to whatever size you need alternatively you can use a foam on a roll. So it's the sameMoreAnd cut them to whatever size you need alternatively you can use a foam on a roll. So it's the same material. It's just instead of coming on sheets it's all in a roll that you can unwind.
What kind of paper is best for decoupage?
Nearly any paper can be used for decoupage projects. Anything from old postcards, seed packets, and greeting cards to napkins, wallpaper, and pages from old books are suitable for use. Other items that can be used as decoupage paper include calendars, magazine pictures, wrappers, paper bags, and wrapping paper.
What happens when Modge podge gets wet?
The combination produces a product that is somewhat water resistant, but not waterproof. If a few drops of water end up on your Mod Podge project you can wipe them away with ease.
How long does Mod Podge take to cure?
With a medium coat of Mod Podge, the project should cure in about 2 to 3 weeks. Allow for longer curing times if applying more or thicker coats.
How do you use Mod Podge without brush strokes?
When applying the Mod Podge, use a soft, wide brush and as few brush strokes as possible, as it begins to set quickly. If you can brush it on with only one or two strokes, that is best. Use very thin coats. Ideally, use a different medium.
Can you decoupage thick paper?
If decoupaging a large surface, a thicker paper can be better as it will not wrinkle as easily. To make sure your paper will be able to fold easily, let your paper soak in water until it is malleable. Make sure to keep your hands wet so the paper does not tear. Glue your paper down before decoupaging and allow to dry.
Can any paper be used for decoupage?
Nearly any paper can be used for decoupage projects. Anything from old postcards, seed packets, and greeting cards to napkins, wallpaper, and pages from old books are suitable for use. Other items that can be used as decoupage paper include calendars, magazine pictures, wrappers, paper bags, and wrapping paper.
Can I use Mod Podge on inkjet printed paper?
Did you know you can transfer INKJET printed images onto wood? Yes . . . this inkjet photo transfer to wood is easy with Mod Podge and regular school glue.
How do you thin out paper?
Fill the blender with equal parts paper and water. Blend the paper until you no longer see any defined pieces of paper and the mixture has a soup-like consistency. Fill the plastic tub halfway with water.
How to apply modge podge to a project?
Add a protective coat of Mod Podge to the project using a sponge or flat brush. Allow to dry and then repeat. Let dry before using.
How long does it take for modge podge to dry?
Smooth, Smooth, Smooth. Keep smoothing until all of the bubbles are removed. Then, AND THIS IS IMPORTANT, let the project dry for 15 – 20 minutes. Don't put a top coat on right away. Add a protective coat of Mod Podge to the project using a sponge or flat brush. Allow to dry and then repeat.
How long does modge podge take to cure?
CURE TIME - Want to explain the difference for those who aren't aware, as most Mod Podge formulas dry within hours or overnight but are not fully cured for 3 - 4 weeks. Acrylic products typically dry right away, or within hours (or in humid environments maybe longer). You can touch them, hang them, but you shouldn't expose them yet to rough handling. Curing is when solvents in a product evaporate and a product reaches its maximum strength. Curing is a chemical process. Even craft paint goes through this process, as does wall paint, etc. You can hang a Mod Podge canvas once it's dried. Wear Mod Podge earrings. Fill a Mod Podged mason jar with candy and gift it. You shouldn't let people use a Mod Podge stepstool or table until it's cured. Or a Dishwasher Safe mug. This is because those particular items will get handled and "abused" more. So you want your acrylic medium (in this case, Mod Podge) to have time to reach its strongest state. Also an item is curing the entire 3 - 4 weeks. That means about 1.5 - 2 weeks in, it's at about 50% cured. But cure time depends on environment (where you live) and other factors. Use your best judgement on when you can use the Mod Podged item based on how the final product will be handled. If it's going to be beat up or washed, wait the four weeks."
What surface can you use to make a decoupage?
Almost any surface can be used to create a decoupage project. Suitable surfaces include wood, papier mache, terra cotta, tin, cardboard and glass. Optional: basecoat your surface with acrylic paint. Pick your Mod Podge formula.
What paint should I use for decoupaging?
Many items need to be basecoated before decoupaging if your surface is unfinished. I recommend FolkArt, Apple Barrel, or Martha Stewart acrylic paints.
How to add interest to a design?
Add interest to your design by using large and small pieces, layering and overlapping elements and coordinating colors.
Can you use mod podge resin on a table?
If it's on a table, I'd consider using Mod Podge resin. It puts a smooth finish over the top: https://modpodgerocksblog.com/resin-crafts/
How to preserve a photo with modge podge?
In the morning, take the Mod Podge project out and preserve it. Wipe the surface of the photograph with a clean, dry rag. Apply the first layer of Mod Podge that will preserve the project. Apply it evenly without any clumps or bubbles. Let this dry completely overnight. You will know that the Mod Podge is dry when it begins to shine. Once it is dry, wipe the surface once more to get rid of any dust or dirt.
What is modge podge used for?
You can use it as a regular glue to stick different things together like paper and wood, fabric to wood, and many more. Mod Podge can also work as a transfer material that places images on photographs on wood or metal. Finally, it preserves the surface of photographs and other crafts and adds a lovely surface for that professional effect. If you’re wondering how to use Mod Podge on wood, we’ll show you some basic steps to get started.
What can you stick on wood?
Aside from flowers and leaves, you can stick items like ribbons, twigs, the bark of trees, shells, and stones on wood. These items are rough and bulky and thus, you need several layers of Mod Podge to keep these on wood and to preserve it.
How to cut wood to shape?
If you would like to cut wood to your desired shape, this is the best time to do it. Use a handsaw or a router to easily cut the wood according to the piece you want. Make sure to sand the surface and the sides to remove any imperfections.
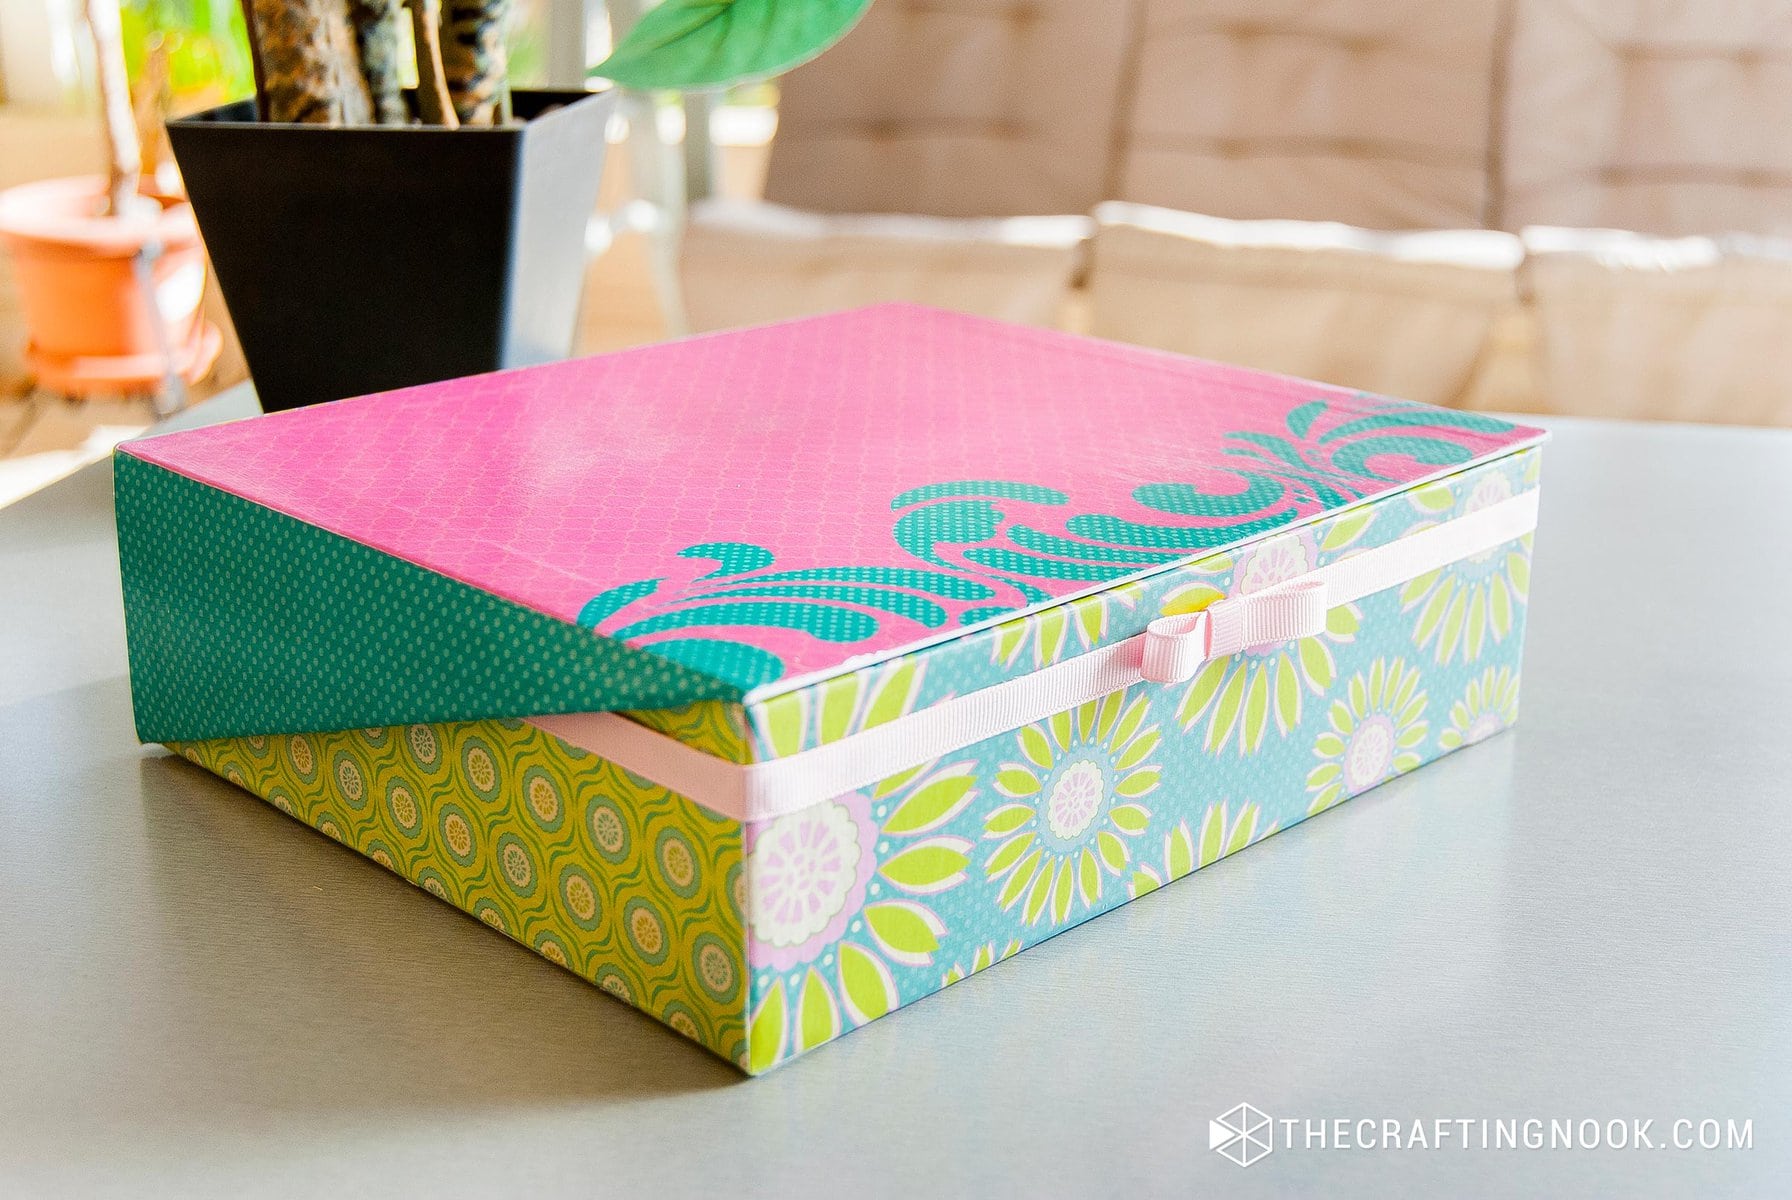
How to decorate wooden boxes?
Decorate wooden boxes, planters, and any wooden items with gift wrapping paper. Prepare wood by cutting and sanding it and cut the gift wrapping paper to size. Apply the Mod Podge on wood and let this dry completely. Apply the final layer of Mod Podge on the surface of the project to preserve it. Use two layers.
How to cut a photo of wood?
Cut the photograph according to the size of the wood. Use a cutter to get the correct size. Wipe the surface and the back of the photograph to remove fingerprints, dust, hair, and other imperfections. Set the photograph aside.
Can you use modge podge on wood?
Mod Podge is a versatile crafts material. You can use this on different materials, not just wood but it can save you time to learn how to use Mod Podge on wood as it is the most common. Mod Podge works well on different materials when it is completely dry. So, do not rush, let your project dry before preserving it with Mod Podge.
How to adhere mini iron to surface?
Take your mini iron and go back and forth, back and forth to adhere it to your surface.
What surface do you craft on?
Whatever surface you are crafting on and whatever material you will be attaching (scrapbook paper, fabric, printable, etc)
How to modge podge a canvas?
How to Mod Podge a Canvas. Start by painting your canvas whatever color you like – give it several coats and let it dry. Print your design out on printer paper. If it is a large design, print it on a few pages and then tape it together.
What is modge podge used for?
There are so many uses for Mod Podge, it’s amazing. One of my favorite ways to use it is to create wall art. I realized that this is a great tutorial to show you how to Mod Podge a canvas with any design.
How to add a design to a canvas?
To add the design to the canvas, begin with the base piece and Mod Podge it to the canvas. Put a medium layer on the canvas, smooth the shape down and then let it dry for 15 – 20 minutes.
How to cut a design on scrapbook paper?
Tape the design to the scrapbook paper and begin cutting. Start with the largest portion of the design to cut first, then cut inward. Depending on the design, you might need a few print outs to cut multiple portions. Keep cutting the various layers of the design, using stencil tape as needed.
How to make a canvas for scrapbooking?
Paint the canvas any color you like; let dry. Add additional coats if needed. Print the design on printer paper. If it is a large design, print it on a few pages and then tape it together. Tape together on the front and back. Tape the design to the scrapbook paper and begin cutting.
How long does it take to dry modge podge?
Put a medium layer of Mod Podge on the canvas, smooth your shape down and then let it dry for 15 – 20 minutes.
How to make a canvas art?
Paintbrush. Start by painting your canvas whatever color you like – give it several coats and let it dry. Print your design out on printer paper. If it is a large design, print it on a few pages and then tape it together. I always tape together on the front and back.
Does Mod Podge bleed through Paper?
Yes, Mod Podge can bleed through paper especially if the paper is too thin. This is the reason why Mod Podge works the best with scrapbook paper.
Does Mod Podge Harden Paper?
No, Mod Podge doesn’t stiffen paper. It takes a while to dry off but the paper becomes more flexible and water-resistant.
Can You Use Mod podge on Printed Paper?
Yes, you can use Mod Podge on printed paper. Laser-jet printed paper is better for decoupage than ink-jet printed paper.
