
How do you get a picture in an ornament?
- Start by drawing the land. Since this is a winter landscape, the ground will be covered with snow.
- Draw another curved line on the background of the first.
- Draw two or more pine trees. If you notice, they look like triangles with jagged edges.
- Add a Christmas star in the sky.
- Paint your drawing.

How to make an ornament out of a photo?
Things You'll Need
- Method 1 Method 1 of 3: Making a Simple Paper Ornament. Pick out a photo. Start by choosing a picture that you want to display on the ornament. ...
- Method 2 Method 2 of 3: Creating a Traditional Glass Ornament. Cut your photo and cardstock into circles. ...
- Method 3 Method 3 of 3: Crafting a Wooden Block Ornament. Select multiple photos. ...
How to make Homemade Christmas ornaments with photos?
Ideas + Ways To Fill Clear Glass Ornaments
- Christmas Candy DIY Ornament
- Baby’s First Christmas Ornament
- Sequined Filled DIY Unicorn Ornament
- Popcorn Filled Ornament
- Adorable Baby Hospital Ornament
- DIY Book Verse Ornament
- DIY Tulle Ornament
- Beach DIY Ornament
- Simple Tinsel Ornament
- Snowman DIY Ornament
How to make personalized ornaments?
ITEMS NEEDED
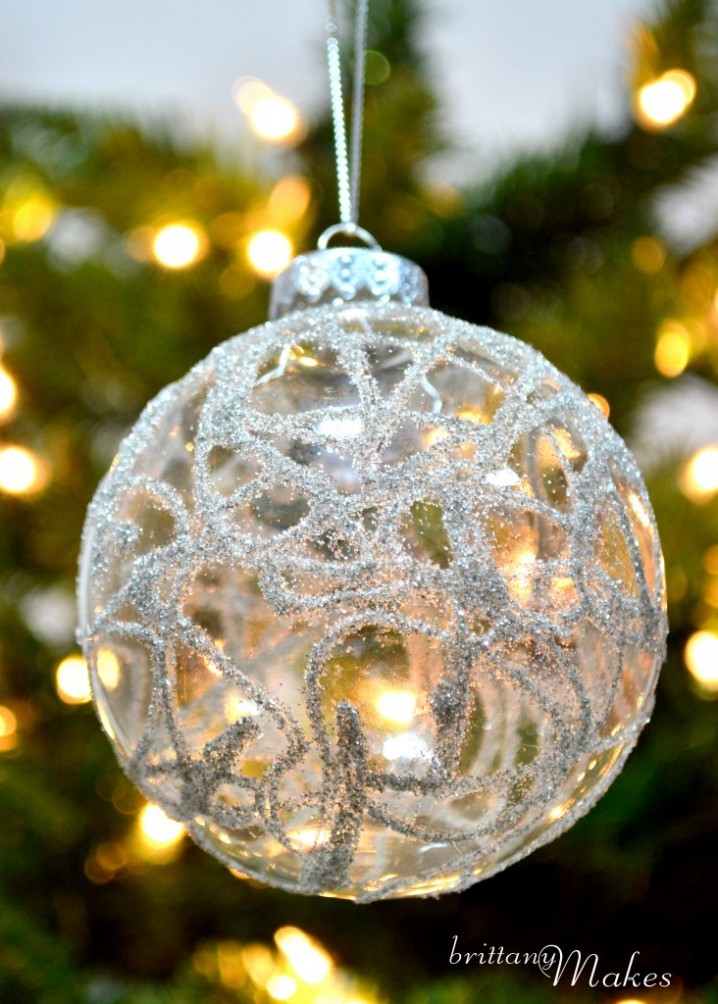
- Clear ornaments: You can find these in glass or plastic in a variety of sizes at craft stores during the holiday season.
- Sticker letters: I was so impressed at the selection of sticker letters from various fonts to colors and metallics too! ...
- Glitter or confetti: If you want to fill the inside of your ornament with a little sparkle! ...
How to make your own wooden photo ornaments?
You will need:
- Wood Slice Ornaments
- Cardstock
- White Tissue Paper
- Template to Print Pictures (you can use this one I made on Canva – see instructions on how to use it below)
- Tape
- Mod Podge
- Foam Paint Brush
- Scissors
- Toothpick
- Hot Glue Gun
How do you put a picture in an ornament?
0:271:27How to Make Christmas Photo Ornaments - YouTubeYouTubeStart of suggested clipEnd of suggested clipThen wrap the photo around a pencil making sure the photo is facing outward. Step 3 holding theMoreThen wrap the photo around a pencil making sure the photo is facing outward. Step 3 holding the photo around the pencil slip it inside the bulb release the photo from the pencil.
How do you transfer pictures to plastic ornaments?
Once the ink is dry, apply a thin coat of gel medium to your ornament with the sponge. Place your photo onto the gel medium while it is still wet and press the photo firmly onto the ornament. Smooth out the papers to remove any air bubbles. Allow the gel medium to dry for at least an hour (I let mine dry overnight).
How do you put a picture in a clear glass ornament?
2:526:23Easy Transparency Photo Ornaments - YouTubeYouTubeStart of suggested clipEnd of suggested clipEither trace your circle template or cut around the circle print it on your photo. Remember leave aMoreEither trace your circle template or cut around the circle print it on your photo. Remember leave a half inch square at the top of the photo as. This will slide into the neck of the ornament.
How do you transfer a picture onto a ceramic ornament?
Place the print onto the ornament, transfer media face down. Allow to dry for at least 24 hours. After the waiting period, take a damp rag and soak the paper. Then gently rub the paper until the picture is revealed.
How do you Modge podge pictures into an ornament?
Step 1: First, you'll need to resize and print out the images you want to use on your blocks. ... Step 2: If desired, use Rit dye to dye your blocks. ... Step 3: Using scissors, cut our your images, and Mod Podge them onto the four sides of your blocks.Step 4: Let dry.More items...•
How do you put a picture on acrylic?
2:344:16Photo Mounting to Acrylic - YouTubeYouTubeStart of suggested clipEnd of suggested clipThe first thing we will do is spray the acrylic surface again with rabbit tack. This will let usMoreThe first thing we will do is spray the acrylic surface again with rabbit tack. This will let us slide our print into position and also eliminates any wrinkles and bubbles.
Can you put a picture on a glass ornament?
2:099:49Glass Photo Keepsake Ornaments - YouTubeYouTubeStart of suggested clipEnd of suggested clipSo the first thing you need to do is cut a piece of that adhesive film sized to fit I already haveMoreSo the first thing you need to do is cut a piece of that adhesive film sized to fit I already have mine cut. And you just peel off the backing.Glass Photo Keepsake Ornaments - YouTubehttps://www.youtube.com › watchhttps://www.youtube.com › watchSearch for: Can you put a picture on a glass ornament?
How do you print on Christmas ornaments?
0:037:53Free Printable Christmas Ornaments with Cricut Print Then Cut - YouTubeYouTubeStart of suggested clipEnd of suggested clipAnd you can use like printable label stock to make this with a pdf. Or you can upload the ping toMoreAnd you can use like printable label stock to make this with a pdf. Or you can upload the ping to your cricut. Machine and use print then cut so just upload the ping file to your cricut.Free Printable Christmas Ornaments with Cricut Print Then Cut - YouTubehttps://www.youtube.com › watchhttps://www.youtube.com › watchSearch for: How do you print on Christmas ornaments?
How do you make custom ornaments?
Step 1: Prepare the Ornament & Work Space. ... Step 2: Add the Polycrylic “Glue” & Coat the Inside of the Ornament. ... Step 3: Add the Glitter and Coat the Inside of the Ornament. ... Step 4: Let the Ornament Dry. ... Step 5: Add Vinyl Personalization to One or Both Sides of the Ornament. ... Step 6: Replace the Hanging Top to the Ornament.How to Make Personalized Glitter Ornaments - Where The Smiles ...https://www.wherethesmileshavebeen.com › diy-personali...https://www.wherethesmileshavebeen.com › diy-personali...Search for: How do you make custom ornaments?
How do you print on glass ornaments?
2:206:23DIY Transparency Photo Ornaments - YouTubeYouTubeStart of suggested clipEnd of suggested clipEither trace your circle template or cut around the circle print it on your photo. Remember leave aMoreEither trace your circle template or cut around the circle print it on your photo. Remember leave a half inch square at the top of the photo as. This will slide into the neck of the ornament.DIY Transparency Photo Ornaments - YouTubehttps://www.youtube.com › watchhttps://www.youtube.com › watchSearch for: How do you print on glass ornaments?
How do I transfer a design to ceramic?
0:061:03Transferring Pattern on Ceramic Greenware - YouTubeYouTubeStart of suggested clipEnd of suggested clipAnd now I'm using a fine ultra fine point sharpie marker to trace over those lines. And then what itMoreAnd now I'm using a fine ultra fine point sharpie marker to trace over those lines. And then what it does is I'll show you in just a second it'll transfer the pattern to your. Piece.Transferring Pattern on Ceramic Greenware - YouTubehttps://www.youtube.com › watchhttps://www.youtube.com › watchSearch for: How do I transfer a design to ceramic?
How do you transfer prints on pottery?
transfer printing, method of decorating pottery by using an inked, engraved copperplate to make a print on paper that, while still wet, is pressed against a glazed pottery surface, leaving behind an impression, or transfer, of the engraving.transfer printing - Encyclopedia Britannicahttps://www.britannica.com › art › transfer-printinghttps://www.britannica.com › art › transfer-printingSearch for: How do you transfer prints on pottery?
How to make a picture ornament?
Here’s a few more tips: 1 Roll the photo around a pencil to get it small enough. You’ll see what I mean when you try it! 2 Use double stick tape to mount the photo. You don’t need to cover the whole picture, just enough to get it to stick to the center of the plastic. Glue doesn’t work well for this project. 3 You can make the ornament two sided by using two photos, but it’s harder to roll up and quite frankly, how often do you look at the back of an ornament? 4 Feel the need to practice first? Cut a trial circle from plain paper and try it out. The thinner the paper, the easier it is to fish out with tweezers or a bamboo skewer. The only way to remove a photo from the glass ornament is to BREAK the ornament. (Yes, I did that too.) 5 Do you really need the plastic? YES! Without a plastic layer the photo won’t uncurl and you’ll be stuck with a curved photo in the ball. Maybe that’s ok, but it certainly lacks a little magic.
What happens if you cut a circle of plastic and put it in an ornament?
If you just cut a circle of plastic and put it in an ornament, it rolls and floats all over place. Want to know the trick?
How to make a picture ornament with fishing line?
Sandwich the fishing line between the two paper circles. Gently roll the photo into a tube (photo on the outside of the roll), and slide it into the ornament. Be sure there are no sharp points of glass that the photo will get scratched by.
How to make a photo into a card?
Cut two circles, one from your photo and the other from the cardstock. Add names, dates, or sentiments to the paper circle, with your printer or stamps. Apply strips of (acid-free) double-sided tape to the photo. Cut a long piece of fishing line and fold it in half. Stick the looped end along the centre of the photo.
Why do we put pictures on Christmas ornaments?
Photo ornaments are such a special type of Christmas decoration that helps keep your family memories alive. Every year as you take each ornament out and hang it on your tree, you will be able to relive those memories and recall your time spent crafting together as a family.
How to remove paper backing from a photo?
When the paper is moist, remove the paper backing by GENTLY rubbing in a circular motion, one section at a time, repeating as necessary. If a white, papery layer reappears on your image, use your damp cloth to remoisten and rub again until the image is clear.
How to make a hole in a top coat?
When your topcoat is dry, use the tip of a craft knife to pierce a hole at the top of your ornament. Twist knife to create a large enough hole.
Can you sand and distress photos on ornaments?
Measure your ornaments and print your photos accordingly. You will want your image to completely cover your ornament. But if your photo doesn’t cover to the edges of your ornament, you can sand and distress to blend the area. IMPORTANT — transferred photos will be MIRRORED images.
Can you paint the reverse side of an ornament?
You can prep and paint your ornament before applying your picture, or you can paint the reverse side of your ornament after you have transferred your photo. It is up to you.
Can you use Testors Crafts Acrylic 2 oz?
TIP: If you are crafting with children, you can use Testors Crafts Acrylic 2 oz. Craft Paints to paint your ornaments instead of aerosols. I chose to spray paint simply because I love the incredible coverage and colors of Testors Crafts Aerosols and because they are so fast to use.
How to photograph Christmas ornaments?
And you can also shoot them in bowls, in someone’s hand, on a weathered wooden surface—there really aren’t any limitations, as long as you think your composition through and make good choices. Remember the rule of thirds —place your ornament on the left or right 1/3rd vertical and make sure you have some space in front of it to help encourage your viewer’s eye to move around the frame (this is especially important if your subject isn’t symmetrical ). And the rule of odds works beautifully for ornaments, too—try including a primary subject with two smaller or more distant subjects in the background, to help create an image with nice balance.
Can you photograph holiday ornaments outside?
You can certainly photograph holiday ornaments outside during the day, or with studio lights, but you may not get the results you’d hoped for. Ornaments really look so much more beautiful when shot in low light, especially when that string of holiday lights is twinkling in the background or reflecting off the glass surface. So in almost every scenario, I’m going to recommend shooting your ornaments inside with nothing but your holiday lights for illumination—and that, of course, means you need to have a tripod.
