Here's how to do it:
- 1. Set your plate on a Lazy Susan or cake spinner.
- 2. Take your squeeze bottle and point it downwards toward the centre of the plate.
- 3. Start spinning your stand, and then start gently squeezing the bottle until you get the desired swirl design.
- 4. Try it with multiple coloured sauces for even more flair.
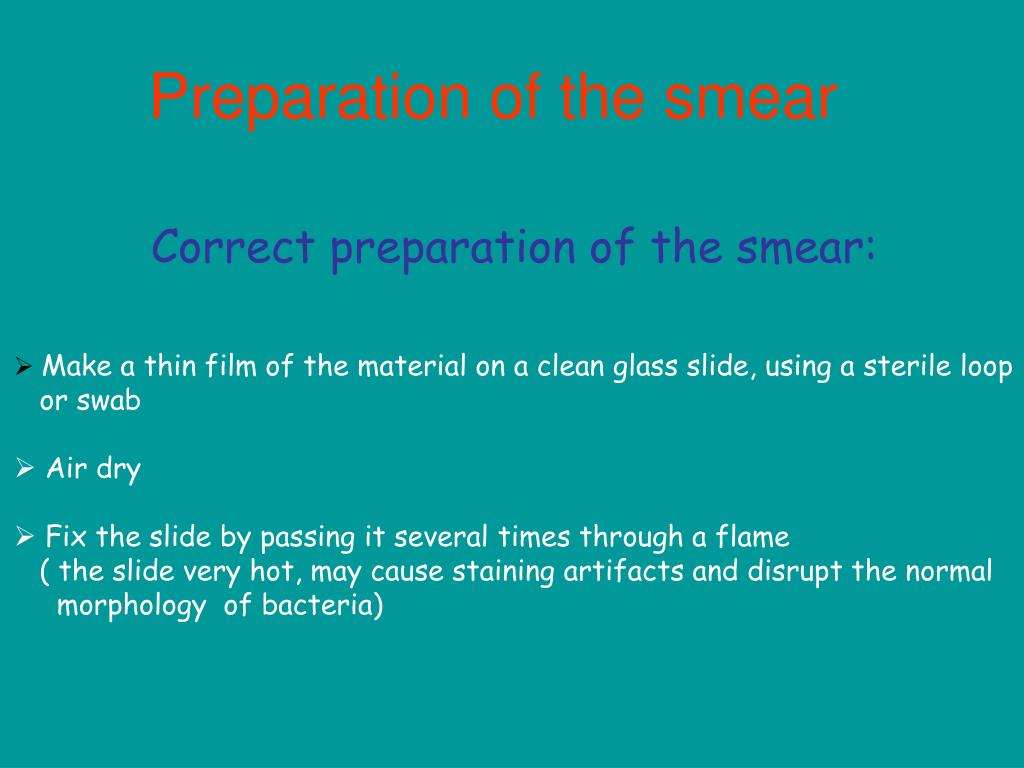
What is the procedure for making a smear?
The procedure for making a smear is as follows: If more than one culture is to be examined using the same stain, it is possible to prepare up to 6 smears on the same slide. Before preparing the slide, divide it into the appropriate number of sections and clearly label each section on the underside of the slide.
How do you test for bacteria on a plate?
Then streak horizontal lines in another section of the plate, and then diagonal lines in another section of the plate. Make sure that the first line (and only the first) in each new section crosses at least one line of the previous section so that it will contain some bacteria.
How do you prepare a smear before staining?
Before staining and observing a microbe under a microscope, a smear must be prepared. The goal of smear preparation is to place an appropriate concentration of cells on a slide and then cement them there so that they do not wash off during the subsequent staining procedure. Figure 3-4 demonstrates smear preparation.
How to prepare a bacterial smear?
Both of these staining procedures begin with the preparation of a bacterial smear. 1. Label a clean glass slide using a red wax marker. Note that it is important to recognize the side of the glass slide that you put your bacterial sample on. 2.

What is smear in cooking?
to spread or daub (an oily, greasy, viscous, or wet substance) on or over something: to smear butter on bread. to spread or daub an oily, greasy, viscous, or wet substance on: to smear bread with butter. to stain, spot, or make dirty with something oily, greasy, viscous, or wet.
How do you dress a plate?
Seven tips to dress up your plateUse bigger plates. Placing your food on a larger plate will make the dish look more appetizing. ... Use garnishes that belong. It used to be that a sprinkle of chopped parsley was considered a garnish. ... Create colour contrasts. ... Create height. ... Sauce underneath. ... Composed plates. ... Don't overdo it.
What are the steps in plating?
The top food presentation and plating techniquesCreate height on the plate.Cut meat horizontally.Play with textures.Use contrasting colors.Match presentation to the restaurant theme.Choose the right plates.Serve smaller portion sizes.Use edible garnishes and decorations.More items...•
How do you do plate dusting?
Plate dusting is a common method for decorating a dessert plate, covering the entire plate with a dusting of powdered sugar or cocoa powder greatly enhances the visual appeal of the dessert. For optimal appeal, use sugar on dark-colored plates and cocoa on light-colored plates.
What are the 5 elements of plating?
5 basic elements of plating and principles of food presentationCreate a framework. Start with drawings and sketches to visualise the plate. ... Keep it simple. Select one ingredient to focus on and use space to simplify the presentation. ... Balance the dish. ... Get the right portion size. ... Highlight the key ingredient.
What are the 7 guidelines in plating?
Food Plating: 7 Tips for Plating Your Food Like a ChefPlan Ahead, Prepare and Organize. ... Experiment With Color and Texture. ... Choose the Perfect Plates. ... Experiment With Layers and Height. ... Use the Right Tools for Food Plating. ... Consider How to Change the Color of Food.
What are the 4 fundamentals of plating?
The 4 Basics of PlatingCreate a framework. It's always good to start conceptualising your plating and presentation ideas before doing the actual plating. ... Ensure balance. Another important thing to remember when planning your presentation is to achieve balance in food plating. ... Portion size. ... Highlighting the key ingredients.
What are the three basic fundamentals of plating?
Three fundamentals of Plating FoodsClock Methods.Stacking Methods.Sauce.
What should you typically not do when plating?
Garnishes to Avoid - Avoid using unappetizing garnishes like raw herbs, large chunks of citrus, and anything with a strong odor. Also, avoid garnishes that take a long time to apply.
How can I decorate my plate?
Plate decoration is a simple, fun way to bring color to your home. For an easy way to draw images and messages, try using permanent markers. Bake-on ceramic paints are a great way to create longer-lasting art. You can also use decoupage glue to cover your plates in paper patterns.
How do you plate like a pro?
Play with Texture, Color & Shape Contrast: Mix colors and textures to give your dish more depth and variety. Opposites like black and white, or grainy and smooth, help dishes pop on the plate. Shy away from more than four contrasting colors or textures to avoid arrangements that look too busy and disorganized.
How do you make dishes look appealing?
4 Rules for Making Food Look BeautifulChoose a neutral dish, not too big or too small.Place the food to suggest abundance.Wipe the splatter off the rim.Garnish! (It's about romance, not parsley.)Find some natural light.But avoid direct light.Upgrade your garnishes.Dissect what your favorite Instagrammers do.
How do you plate food like a pro?
Play with Texture, Color & Shape Contrast: Mix colors and textures to give your dish more depth and variety. Opposites like black and white, or grainy and smooth, help dishes pop on the plate. Shy away from more than four contrasting colors or textures to avoid arrangements that look too busy and disorganized.
How do you plate food like a chef?
Place items on top of each other, like proteins on top of starches (such as steak on top of mashed potatoes). Sauces can be used as a base layer of color on the plate, with the rest of the food placed on top. Height is another dimension for filling space, and can make food look bigger. Try stacking veggies or salads.
What is the most common garnish?
What is this? Herbs and leaves are the most commonly used garnishes, adding color and an unbeatable, distinct, mouth-watering aroma to the dishes. They're also the most varied—there are multiple garnishing possibilities with herbs and leaves. Herbs and leaves can be used fresh or dried for garnishing.
What are dessert plates?
Noun. 1. dessert plate - a small plate on which dessert can be served. plate - dish on which food is served or from which food is eaten.
How to fix a smear on a slide?
Once dry, "fix" the smear to the slide by passing the bottom of the slide through the tip of the burner flame several times for a one second. After heat fixing, touch the heated portion of the slide to your hand. It should be comfortably warm, but not burning hot.
What is the purpose of a smear before staining?
The goal of smear preparation is to place an appropriate concentration of cells on a slide and then cement them there so that they do not wash off during the subsequent staining procedure. Figure 3-4 demonstrates smear preparation.
What is a good smear?
The best smears are made from bacteria that have grown on a solid surface such as an agar slant or plate. A bit of growth from a culture is mixed with distilled or tap water to form a slightly turbid solution and this is spread on a clean grease free slide.
How many smears can you make with broth?
The procedure for making a smear is as follows: If more than one culture is to be examined using the same stain, it is possible to prepare up to 6 smears on the same slide. Before preparing the slide, divide it into the appropriate number ...
How to grow culture on agar plate?
If your culture has been grown on a agar slant or agar plate. Place a small drop of water on a clean, grease-free slide. Next, using a sterile loop or straight wire needle, transfer a bit of the growth to the drop of water and rub the needle around until the material is evenly emulsified.
How to get a stain out of a slide?
Spread the drop over a portion of the slide to make a thin film. Allow the film to air-dry. To get a good stain, it is important to let the smear dry completely. Excess water left on the slide will boil during the fixing stage, causing most microbe present to rupture. Rushing this step will result in a poor final stain.